How to Quickly Set Up Stable Diffusion WebUI on Google Colab
Overview
Google Colab, developed by the Google Research team, is a cloud-based platform that allows anyone to write and execute Python code through their browser. It’s particularly well-suited for machine learning, data analysis, and educational purposes. Technically, Colab is a hosted Jupyter notebook service that requires zero configuration and provides free access to CPU and GPU resources that might not be available locally.
Quick Start Guide
-
First, you’ll need a Google account to sign in to Google Chrome.
-
Visit the stable-diffusion-webui-colab GitHub repository. This repository contains stable, latest, and lite versions of Stable Diffusion WebUI.
-
Locate your preferred version using
CTRL+Fto search for specific models (e.g., “anything-v3.0”). Pay attention to the three version tags in the README table:
- lite: Features stable WebUI and pre-installed extensions
- stable: Includes ControlNet, stable WebUI, and pre-installed extensions
- nightly: Offers ControlNet, latest WebUI, and daily extension updates
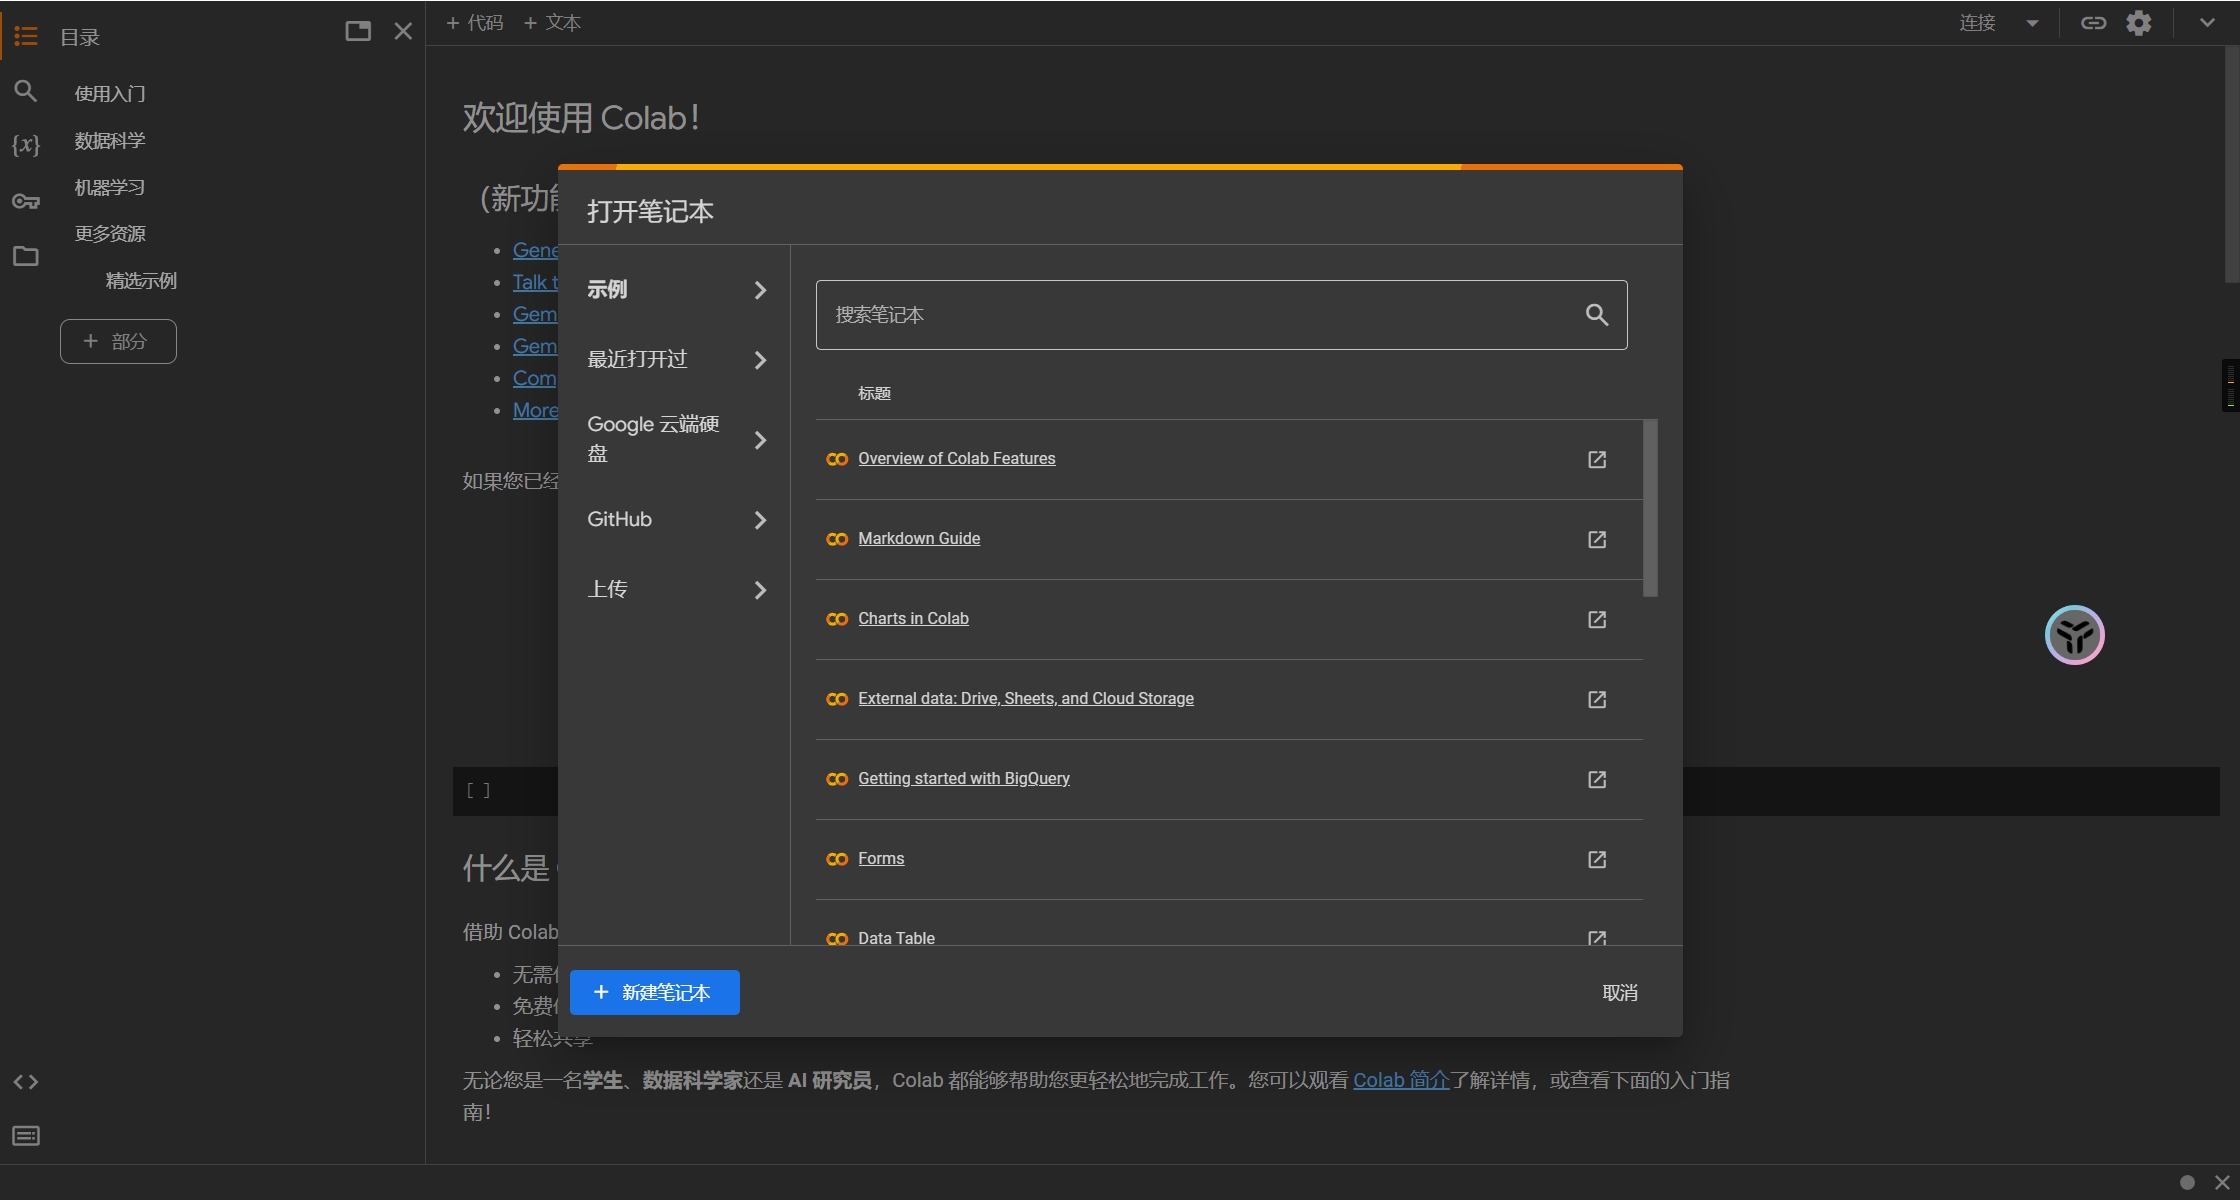
- Click on your preferred version tag (we’ll use “nightly” as an example). This will redirect you to the Google Colab code editor window:
-
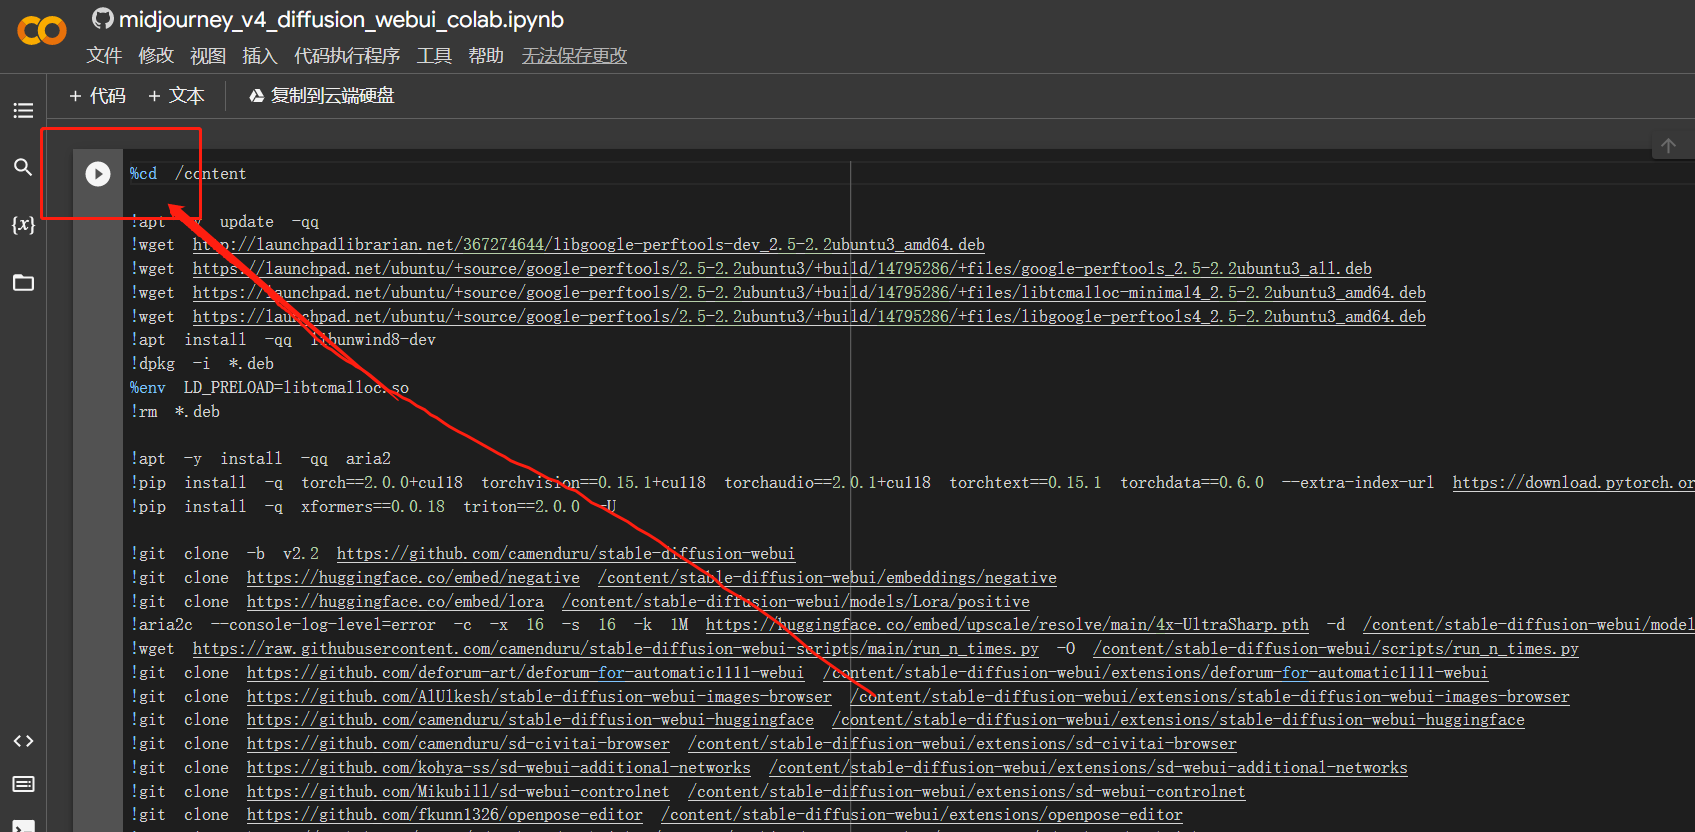
Click the play button in the top-left corner of the code window to begin automatic deployment. After approximately 10 minutes (maximum), you’ll receive four temporary access links. Choose any link to access the WebUI interface.
-
In the WebUI interface, you can experiment with various AI tasks such as txt2img and image2img. Select your desired task from the left panel, input the relevant parameters, and click run to generate results. The top-right corner provides additional features like model downloading, saving, and training capabilities.
Important Notes
Google Colab provides a convenient way to deploy Stable Diffusion WebUI for AI image generation experiments and model training. However, remember that Colab resources are temporary and limited. Always properly close your session when finished to avoid wasting GPU resources, as idle sessions can affect your account’s GPU access privileges.
The provided links are temporary and require redeployment for each new session, ensuring a fresh environment for your AI experiments.
More Articles
![OpenAI 12-Day Technical Livestream Highlights Detailed Report [December 2024]](/_astro/openai-12day.C2KzT-7l_1ndTgg.jpg)